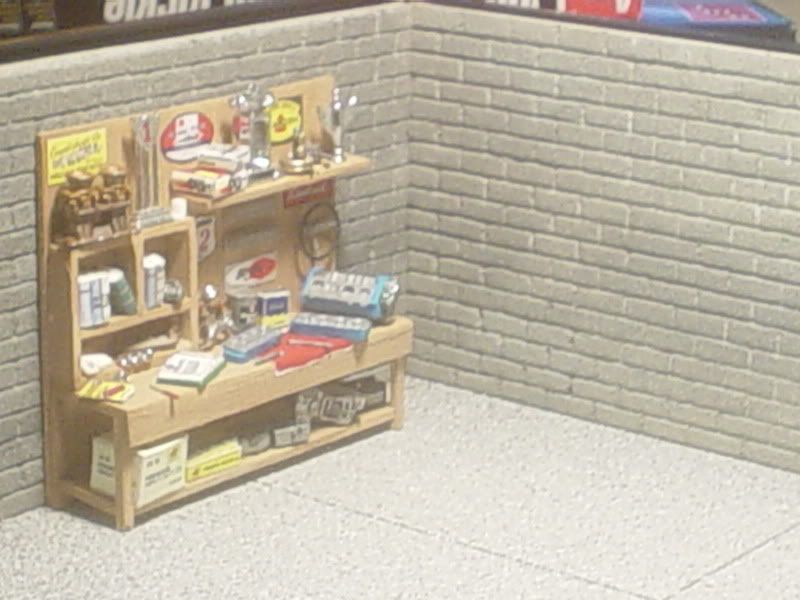
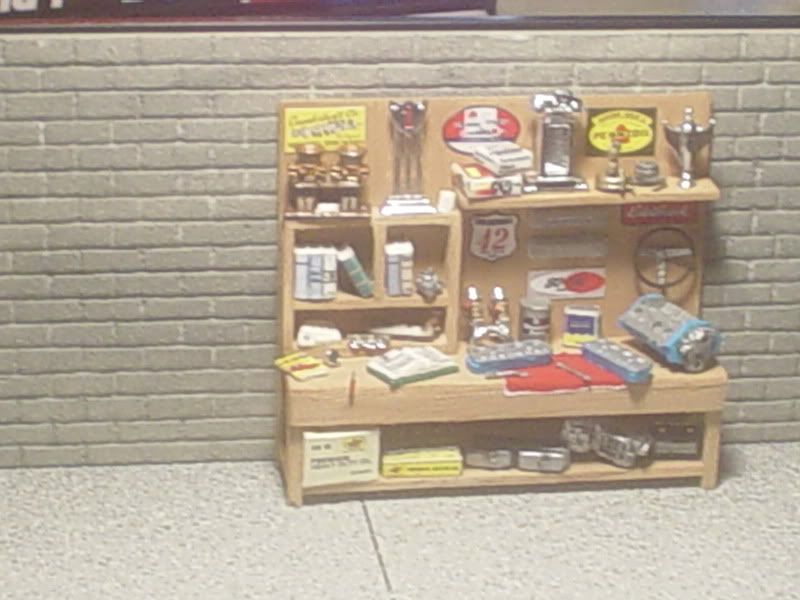
|
|
Post by dannyi on Jun 24, 2010 17:09:04 GMT -6
..now for the dark aging effect. I like the look this process brings out in the brick, but it's not necessary if you want to have a cleaner look. The picture shows a bottle of Silver Wood Stain. Ran out of this stuff a long time ago, but I made an equally effective substitute with rubbing alcohol and India ink. I used a small pointy brush for a couple of reason. First, it concentrates the solution in the mortar lines and second thought some bricks get totally covered , a lot don't. Of those that don't, a few have just the edges tinted. This adds some shading to these brick and enhances the 3D effect.  ....here's the finished product. I hope this little project helped anyone thinking about trying brick work like philbass (Eric's) tutorial inspired me. Thanks Eric! and thanks to everyone for looking and commenting.........  |
|
|
|
Post by chiefsspeedshop on Jun 24, 2010 17:16:18 GMT -6
THANK YOU so much for this tutorial ;D ;D ;D I learned alot and can't wait to try it out for myself........................Chief
|
|
|
|
Post by dannyi on Jun 24, 2010 17:37:58 GMT -6
..your welcome Chief, glad I could be of some help. One thing you might want to do(at least I did) is make a small separate piece of wall to test the paints on. This way you can tell if their to thin or thick......same thing with the alcohol/ink mix ( if you end up using that). Too light, no effect..too dark might just be overkill..........
|
|
|
|
Post by chiefsspeedshop on Jun 24, 2010 18:53:15 GMT -6
Thanks again,heres what I got so far with my walla,I went with a more modern block look,hope ya like,....................Chief   |
|
|
|
Post by mastermodeler on Jun 24, 2010 19:00:18 GMT -6
Those walls are absolutely terrific. I'm going to have to seperiment with this.
Alex
|
|
|
|
Post by dannyi on Jun 24, 2010 20:22:57 GMT -6
Thanks again,heres what I got so far with my walla,I went with a more modern block look,hope ya like,....................Chief WOW, that looks great Chief! What kind of board did you end up using? |
|
|
|
Post by dannyi on Jun 24, 2010 20:24:58 GMT -6
Those walls are absolutely terrific. I'm going to have to seperiment with this. Alex ..you should give it a try! You'll have fun doing it too! |
|
|
|
Post by chiefsspeedshop on Jun 24, 2010 20:46:27 GMT -6
Thanks again,heres what I got so far with my walla,I went with a more modern block look,hope ya like,....................Chief WOW, that looks great Chief! What kind of board did you end up using? I went o Hobby Lobby and got eh same 3/16" foam board for $1.99 and then did you process you showed,then lightly painted Dove Gray and some black wash,there not done yet,just wanted to show the progress I have made in about an hour and half ;D........................Chief |
|
|
|
Post by dannyi on Jun 30, 2010 21:01:36 GMT -6
|
|
|
|
Post by geezerman on Jul 1, 2010 5:45:26 GMT -6
Nice work guys.
Thanks for posting, this will be a lot of help.
One question, Danny. Brushing in mortar lines w/ plaster, are you doing this with the plaster dry? If so, how do you set it after cleaning the face of the bricks?
|
|
|
|
Post by dannyi on Jul 1, 2010 7:30:38 GMT -6
...thanks geezerman
...yes it's dry plaster. One way to set it is with the damp cloth used to clean the brick face, being carful not to use too much water. Another way, which I haven't tried, would be to use a fine mist from a spray bottle or the like. The way I ended up doing mine was the alcohol/ink wash. Keep in mind that this wash will darken the color of the bricks. I suppose there are other ways to set the plaster, you just need some type of moisture to get to it...........................
|
|
|
|
Post by dannyi on Jul 1, 2010 14:43:18 GMT -6
...got the floor into the final stages. Once all the plaster was dry I sanded it level. Then went over it with a wet cloth to smooth out almost all of the scratches. Left a few for evidence of ware and tear. I was able to lift all but two section for cracking and to show the form lines. When the floor completely dries I'll glue the sections down and begin the color and weathering process..........    ...more to come....thanks for look'n..... |
|
|
|
Post by mastermodeler on Jul 1, 2010 16:50:50 GMT -6
That is SOOOOOO sharp. I have GOT to try this. Thank you so much for doing this here.
Alex
|
|
|
|
Post by dannyi on Jul 1, 2010 19:09:08 GMT -6
..your welcome Alex, Glad to do it, always willing to learn and share with you guys!!
|
|
|
|
Post by dannyi on Jul 1, 2010 19:20:52 GMT -6
....while the plaster cures I did a quick mock-up on the ceiling/floor with the I beams. I plan on using 2x12's for the joists and angled planking for the second story floor. The wood part of the floor will be removable. That'll make it easier to get at things plus give me more light for pics..........   |
|