|
|
Post by geezerman on Jun 7, 2015 16:06:26 GMT -6
Dinkin' along making detail stuff for the interior. Forgoing my usual minimum effort interior. Figured I ought to finally address the rear end. Cutting out the taillight openings, for no particular intent. Don't have the taillights, I did find a bumper that fits the bill. Milky green crappy plastic from a glue bomb truck, but it'll work.
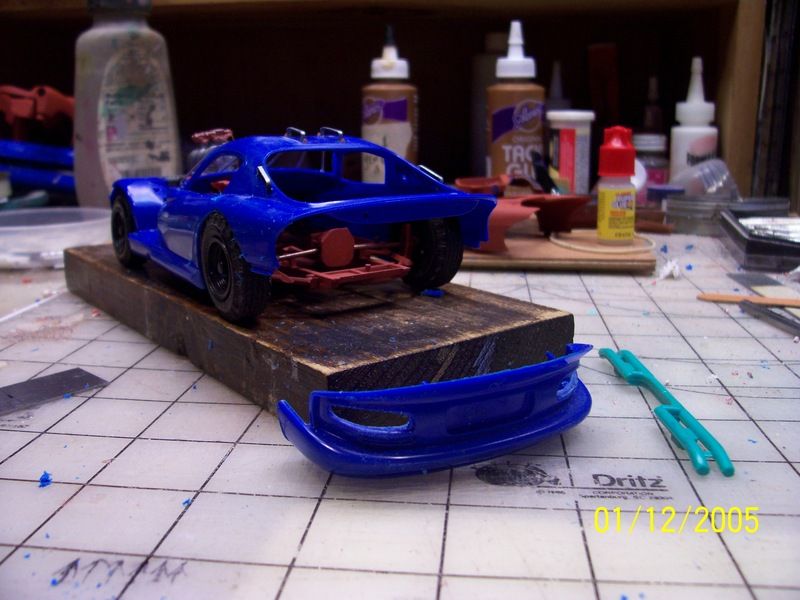
Back portion attached.
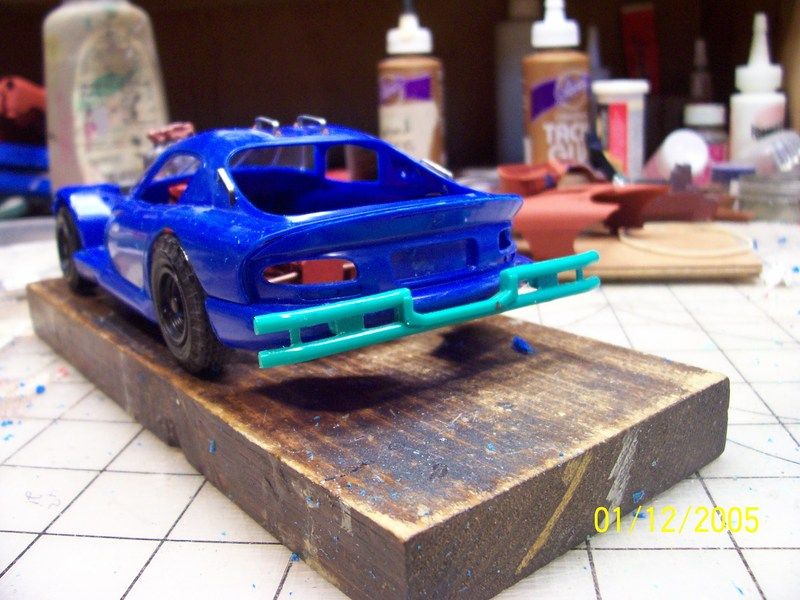
|
|
|
|
Post by geezerman on Jun 9, 2015 6:19:23 GMT -6
Even though it's my own fault for never building kit/models the 'right way', using an interior tub has ALWAYS bitten me where the sun don't shine !!
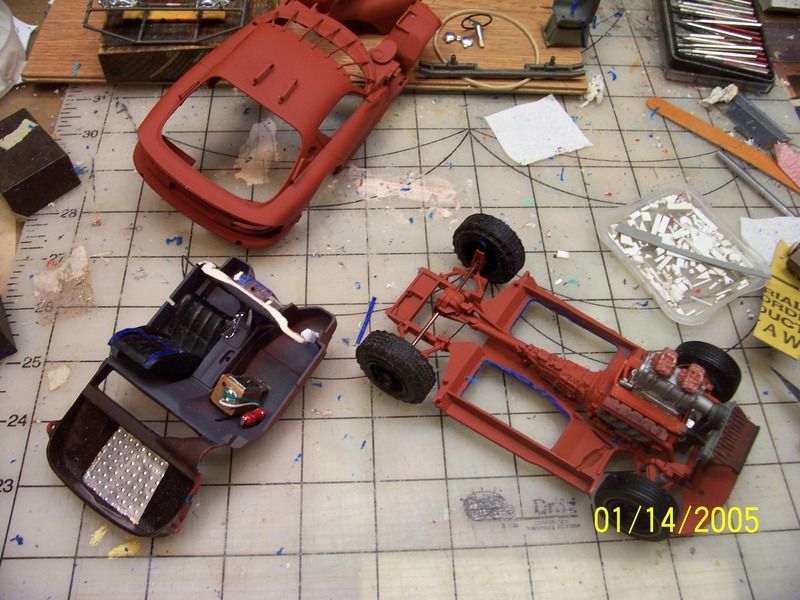 
|
|
|
|
Post by geezerman on Jun 9, 2015 9:20:02 GMT -6
Carrying on this morning. I lobotomized the seat even more. Even though I had removed the headrest, the seat was still tall enough to stick outside of the side window.
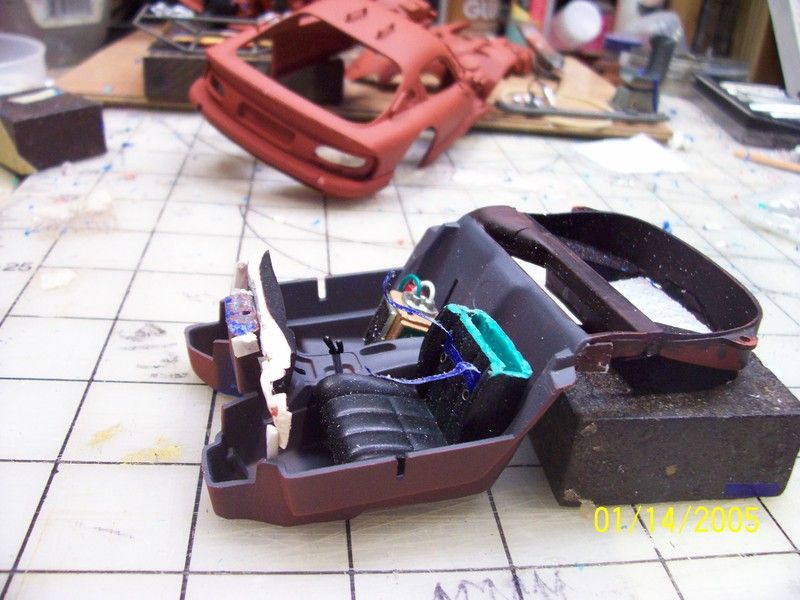
After,

While that was going on, I wanted to try an idea. I took the hood outside in the Florida humidity and sprayed it with some Duplicolor, then took it inside forthwith into the AC. Yep, it fogged up nicely giving me the wanted oxidized look.
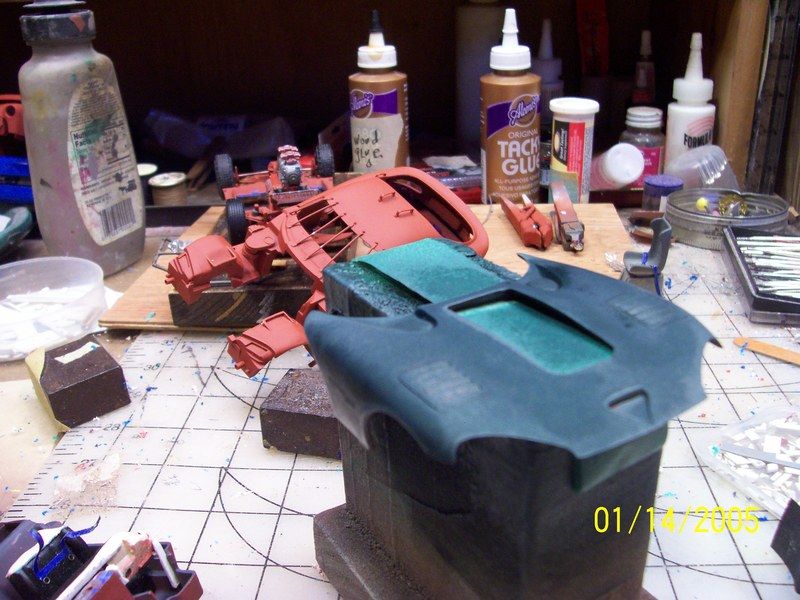 
|
|
|
|
Post by geezerman on Jun 10, 2015 4:32:42 GMT -6
I think I have the dash sufficiently butchered enough to get the assembly to fit in the Viper. The cobbled up firewall side of this, sprung me to a reminiscent moment to back when I worked in the RV industry. The general public doesn't realize what's behind all of the fancy cabinetry and the gaudy lighted beveled mirrors.

But I digress. I'm about ready to start putting stuff together now that I have my oxidized paint job on.
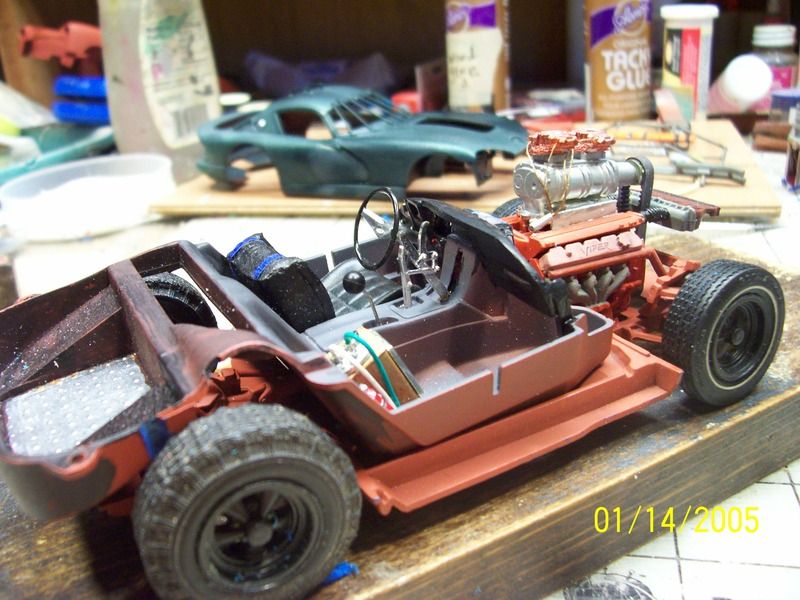
|
|
|
|
Post by geezerman on Jun 11, 2015 13:24:13 GMT -6
Movin' right along. Fortunately, I had a lot of stuff made up and ready for final assembly. I really want to get this done. My brain is reeling with the stuff I have gathered from the salvage and just waiting to be put into play !!
Firstly, I had drawn a nuclear Viper logo a few days ago on some un-printed portions of decal paper.
Not too sure how it was going to work, drawing on the clear coated paper. I had to wait until I had the body paint on to try it.
The drivers side was tried first, I laid the trimmed decal on a decal solvent wetted spot and then flowed more solvent set over it. Drying, the edges started to curl. Curses !! I played around trying to get the edges to seat back down. Not a lot of great luck. I have tried to tone it down with some bloody looking dripping.

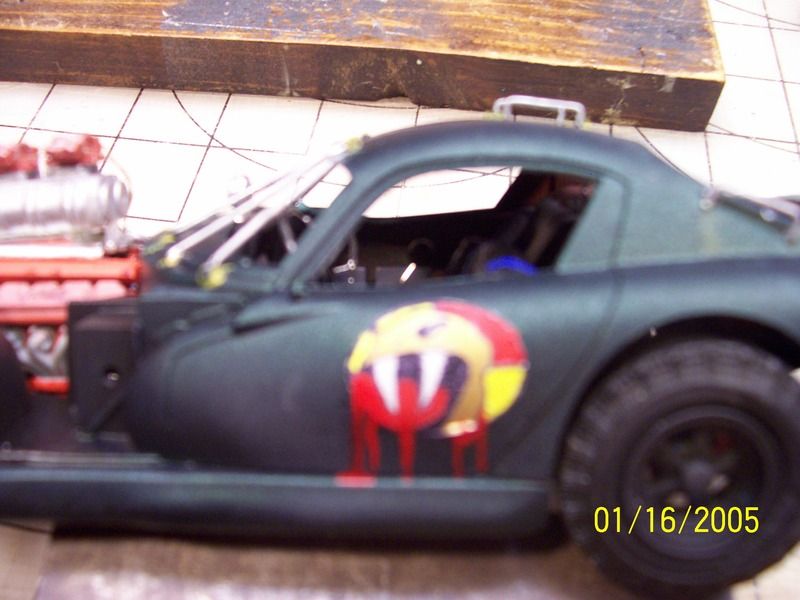

Oh, well, what the hell, I put the passenger side decal on a solvent prepared spot, but didn't cover it with more solvent. It laid out real nice! I figure the solvent didn't work OVER the painted design. So one side (drivers) is bloodied .
I finished attaching the final details, and did a slight dust mist to tone it down, and give it a slightly unclean look.
Took it out and shot a couple of finish fotos on a simple backdrop.
Heading it to the finished section. 
|
|
|
|
Post by geezerman on Jun 11, 2015 13:45:48 GMT -6
|
|
|
|
Post by bob29579 on Jun 11, 2015 15:23:24 GMT -6
I couldn't be the gunner on that one, I would shoot the blower off. I'll drive, you can shoot. I think the decal solvents do wrinkle and pucker the decals, but then you are supposed to let it and then it lays it's self down nice because it all happens so unevenly. Either way, it looks great, the paint turned out fantastic.
|
|
|
|
Post by dogfish7 on Jun 24, 2015 8:00:42 GMT -6
Looks like something out of a Mad Max movie! Well planned, engineered and implemented Clay! 
|
|