|
|
Post by geezerman on May 11, 2016 5:44:22 GMT -6
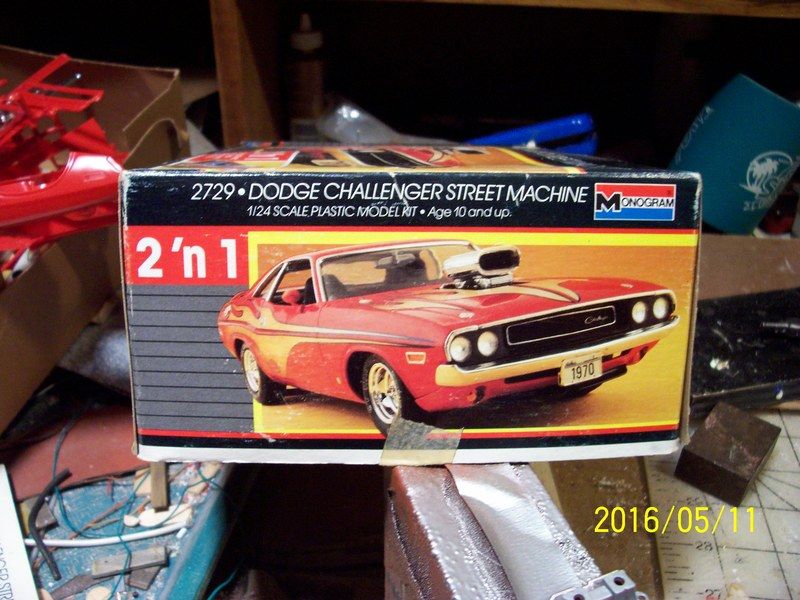
Box literature doesn't state the year of this model. but these late 60's MOPARS are all gorgeous!
So, saying that, I'm kinda reluctant to try sectioning this, but I'll try a discrete one,
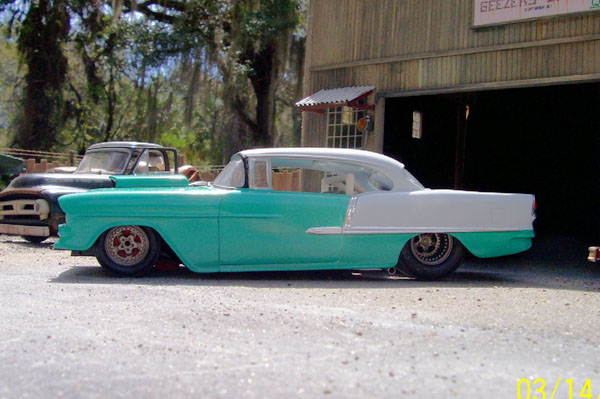
The 55 Chevy was 'fat' and benefited quite a bit with a 1/4 " section.
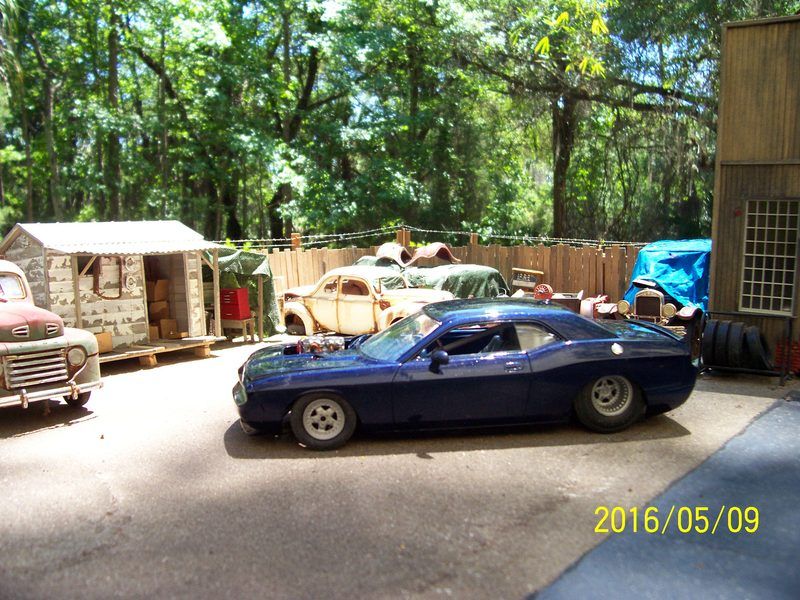
The 2010 Challenger was 'fat' also. I had given it a pie cut section, which improved that also.
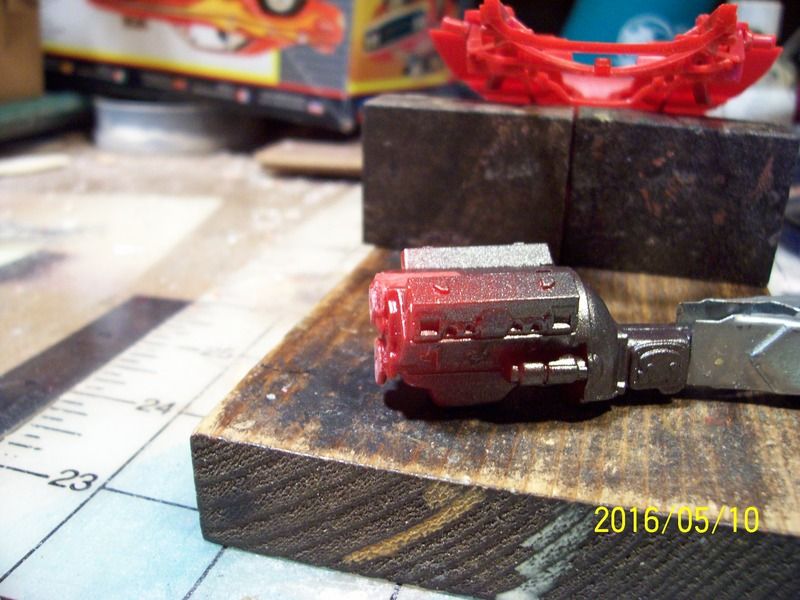
First step was to paint the engine to give it time to dry before messing with it.
Not planning to deviate much from a kit assembly other than the sectioning. but, it HAS to be lowered some (Geezer's rule #1), so the front spindles were raised some.
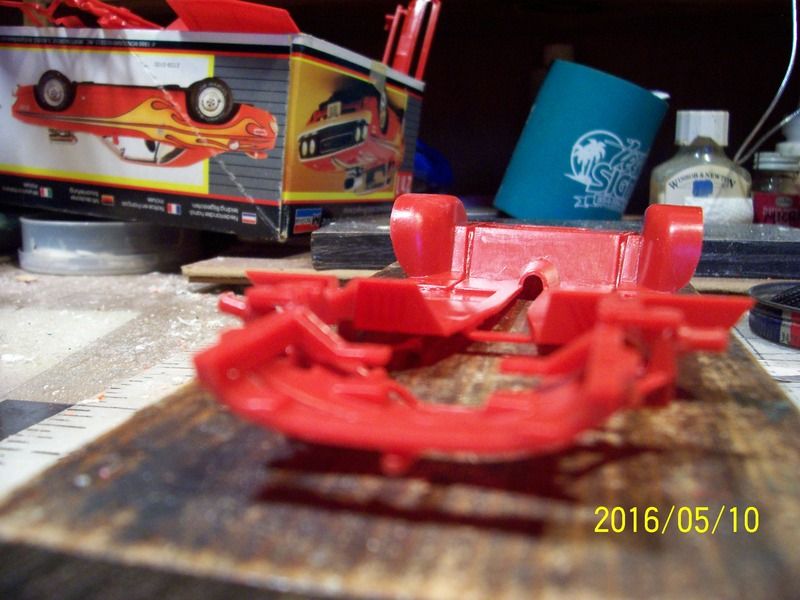
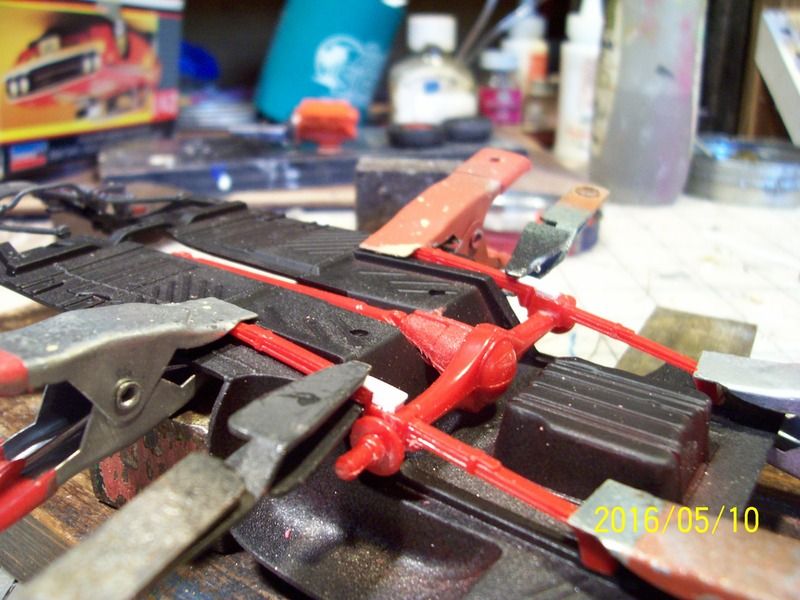
The rear is a different challenge altogether. They made it very difficult to install lowering blocks. Being the astute perfectionist that I am, I finally just cut the ##*n springs !

 |
|
|
|
Post by bob29579 on May 11, 2016 12:24:04 GMT -6
z ing the springs. What a novel idea..... Are you really out of kits ?
|
|
|
|
Post by dogfish7 on May 12, 2016 8:00:52 GMT -6
Good start Clay. 
|
|
|
|
Post by geezerman on May 13, 2016 4:44:11 GMT -6
z ing the springs. What a novel idea..... Are you really out of kits ?
It is my last one, Bob. I don't collect them. I've built every one I get. I migh have to so shopping soon. I could probably squeeze one or two out of the salvage yard, but that's getting to be slim pickins.

So, here's today's update;
Igor got busy with his Sawzall.
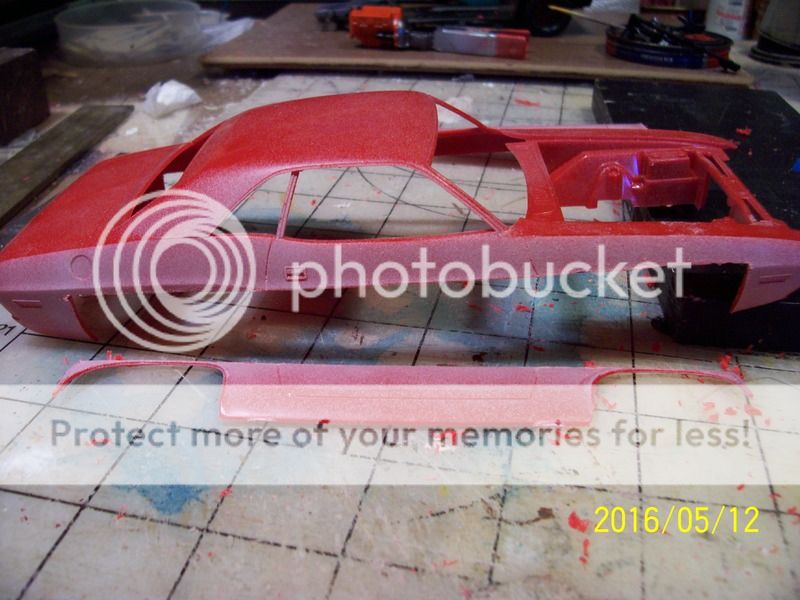
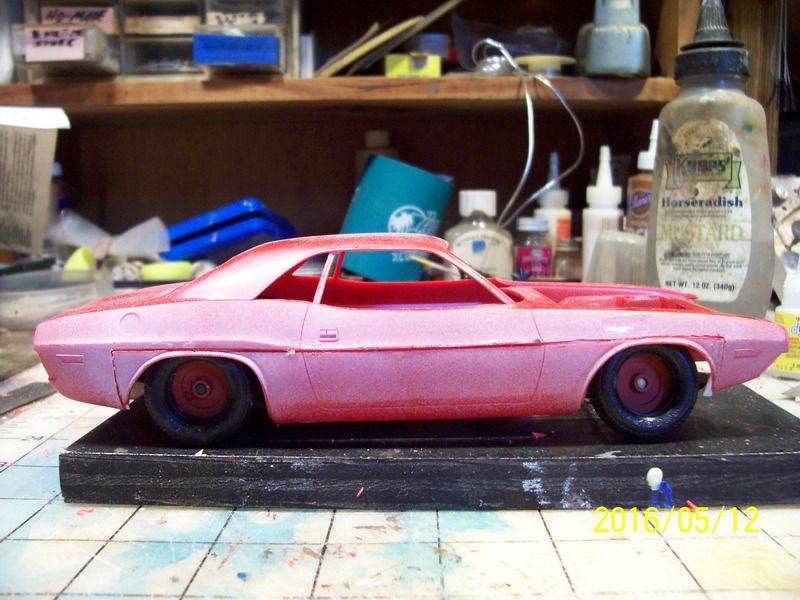
Can't hardly say that there's much noticable difference. Gives Igor and I something to do, though, and it makes a kit assembly last longer.
 |
|
|
|
Post by dogfish7 on May 13, 2016 7:59:29 GMT -6
If you changed it too much, then there would be a whole lotta cutting on the interior also. 
|
|
|
|
Post by geezerman on May 15, 2016 4:53:17 GMT -6
I've taken 1/8 " out of the interior tub. For me, this almost never works out to be as simple, easy, and straight forward as one thinks it should be. I usually eliminate the tub assembly and cobble the interior without one.
We'll see.

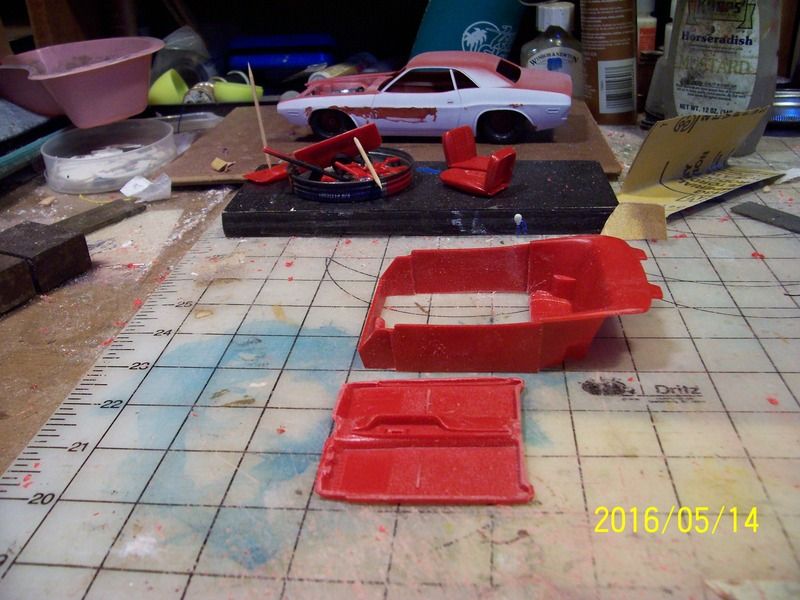
|
|
|
|
Post by dogfish7 on May 15, 2016 7:55:58 GMT -6
Going to have to move the driver's seat back a tad for leg room. 
|
|
|
|
Post by geezerman on May 15, 2016 19:13:43 GMT -6
This is how the front end fits.
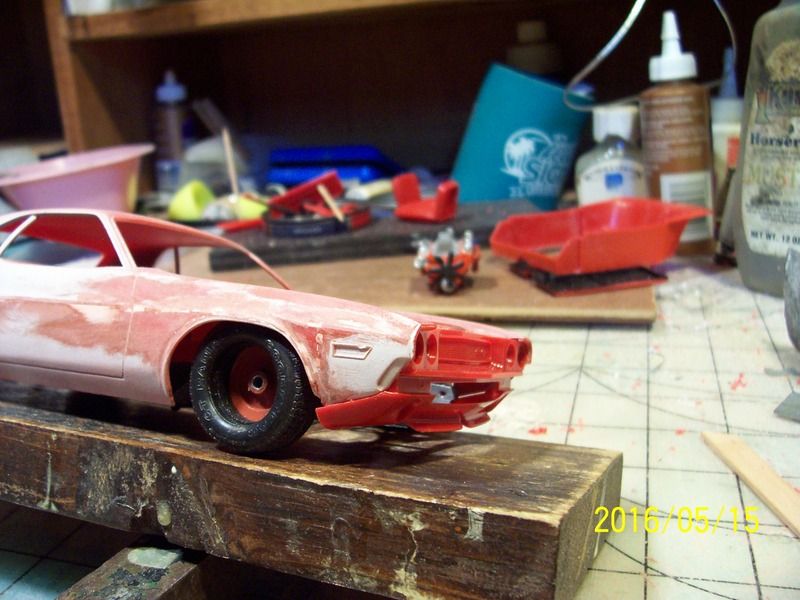
It is now molded in in this foto. The interior tub is setting inside. I'm sure that when it is all painted and ready for assembly, it won't want to fit in. I don't know why that always seems to happen. I'll deal with it.... as usual !!
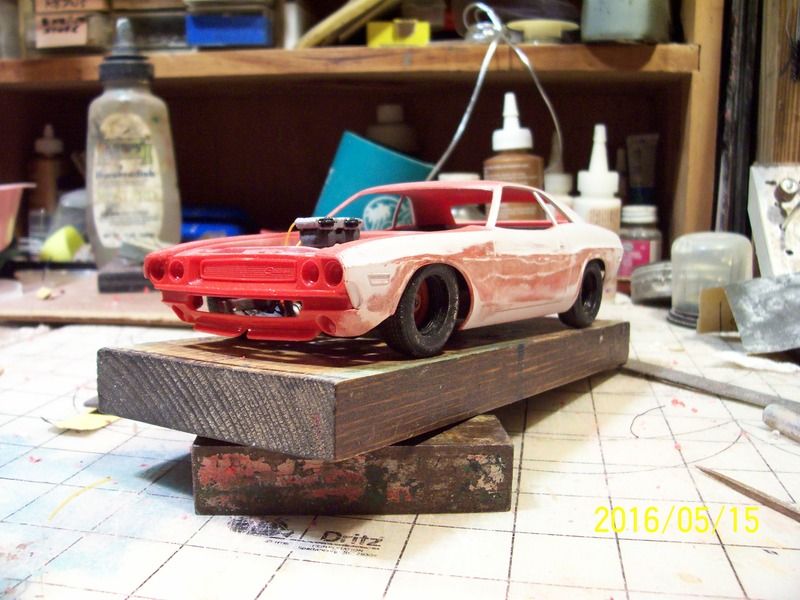
|
|
|
|
Post by bob29579 on May 16, 2016 13:06:54 GMT -6
Starting to come along. I think the tub should fit this time. It was not that drastic of a cut.
|
|
|
|
Post by dogfish7 on May 16, 2016 14:26:35 GMT -6
She sure has a nice stance! 
|
|
|
|
Post by geezerman on May 17, 2016 4:54:57 GMT -6
|
|
|
|
Post by dogfish7 on May 17, 2016 7:40:15 GMT -6
The primer coat and interior looks great. Have you chose a color yet?
|
|
|
|
Post by geezerman on May 19, 2016 3:25:10 GMT -6
I've mixed up a kind of Mopar green with One Shot. Not too sure I'll like it . When it gasses out, I may reshoot it with a little more yellow in it.

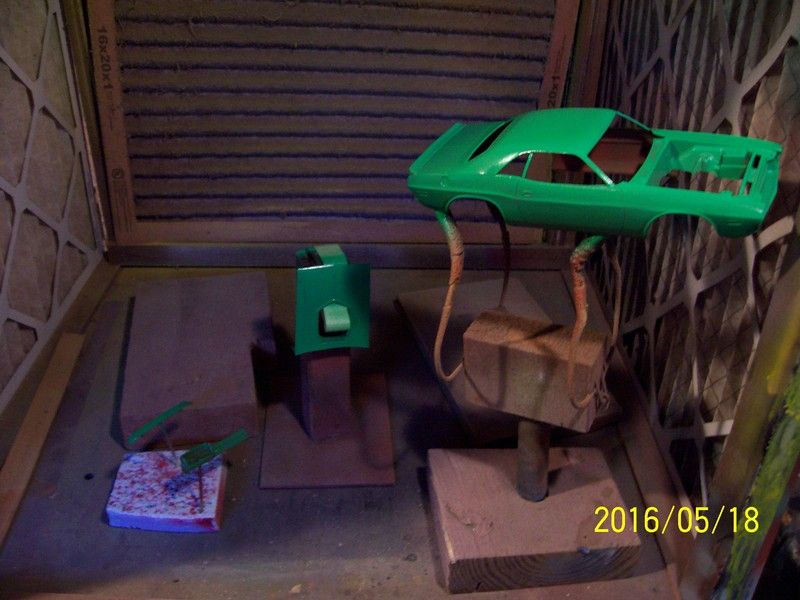
|
|
|
|
Post by bob29579 on May 19, 2016 14:50:43 GMT -6
It takes a lot of yellow to lighten it up...
|
|
|
|
Post by geezerman on Jun 7, 2016 4:00:04 GMT -6
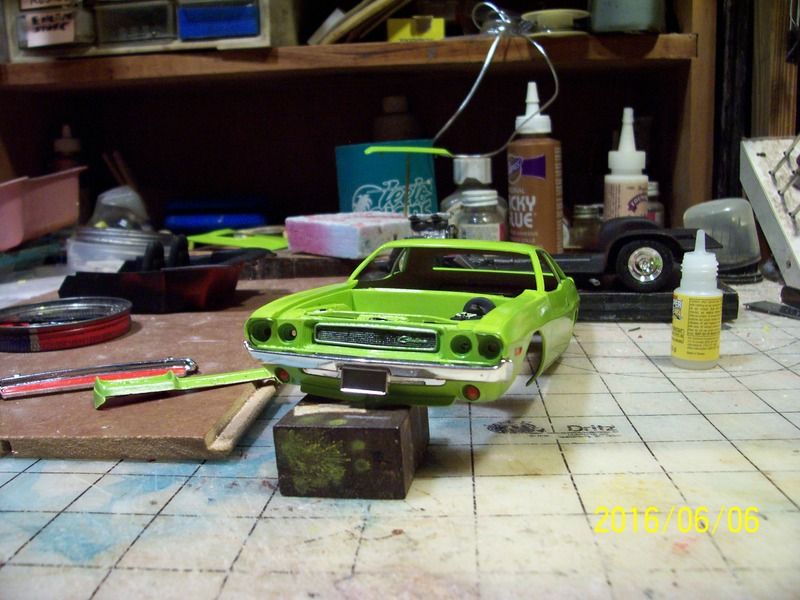
With the roadster off to the side passing gas, I'll finish this off.
I hardly ever use decals, but even tho I don't plan to clear this, I thought the TA striping would look good on it. Carefully trimming as close to the design as possible on the decals, placement didn't align at all!! I didn't think the section would matter that much. So, they'll not go on. Too bad, because there is some visible body work on the drivers side that decals would've help hide. I'll just avoid photographing that side.
So a little more finishing touches and it'll be done.
|
|