|
|
Post by geezerman on Jul 2, 2014 9:21:06 GMT -6
Adhering to my usual practice of minimal effort interiors, I am going Mincraft one better over their sad effort of re-tooling the one on the Gen Lee. Not wanting to try to get something from that, I am simply gluing the interior side panels to the inside of the body.
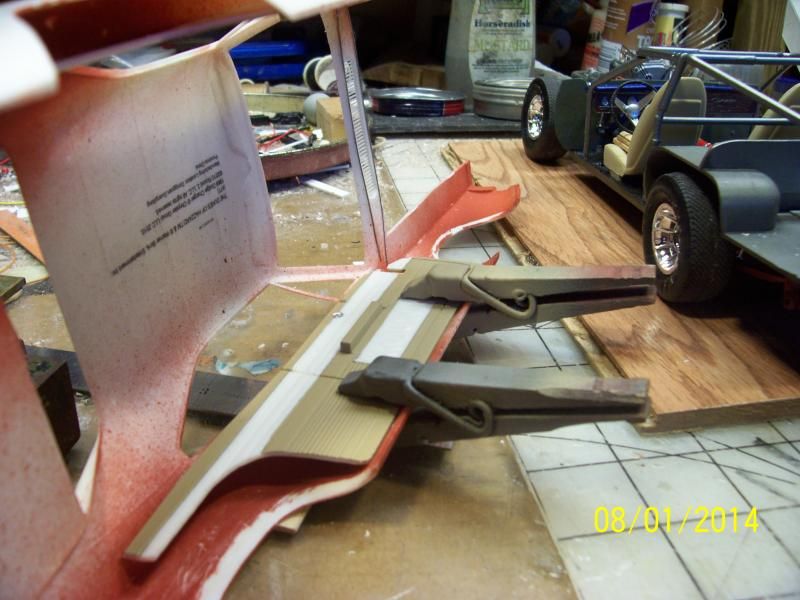
 One of my peeves are tires extending outside of the fender lines. I realize that the Gen Lee is a redneck thing where xtra wide wheel track is common. Despite thinning the inside of the wheel openings as much as possible, I fear I'm going to have a problem. Wish I had the forethought to narrow the rear end at the time. One of my peeves are tires extending outside of the fender lines. I realize that the Gen Lee is a redneck thing where xtra wide wheel track is common. Despite thinning the inside of the wheel openings as much as possible, I fear I'm going to have a problem. Wish I had the forethought to narrow the rear end at the time. 
|
|
|
|
Post by geezerman on Jul 3, 2014 5:49:00 GMT -6
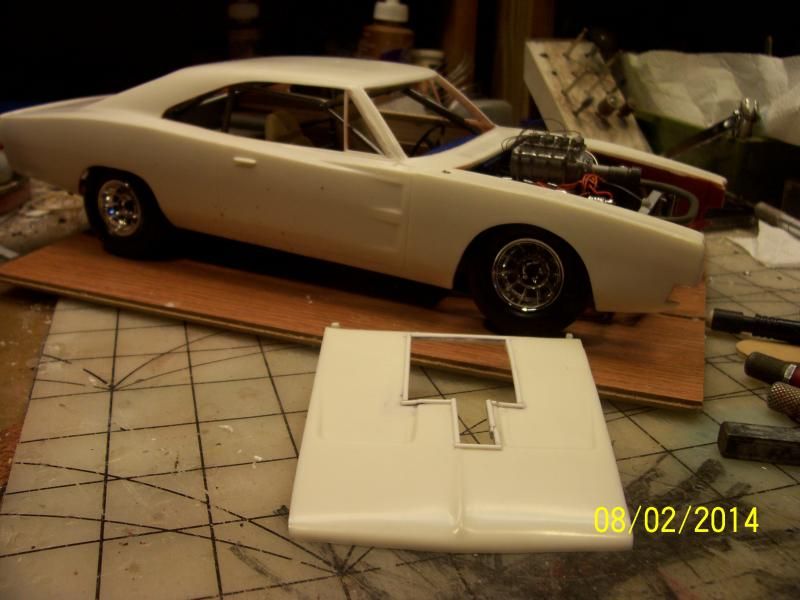
The final mod. I'll clean this up and will be starting the painting. Then we'll see how the rest of this Mincraft abortion will go together !
|
|
|
|
Post by geezerman on Jul 19, 2014 6:14:42 GMT -6
This model is alive and well. Just been sitting in white base coat, waiting. I know what I want to do. I did a similar piece by hand on a smaller model . It was a tad sloppy.   I needed a special decal for the current WIP, the care package #1, so I have ordered the starter pack DIY decals from MIcro Mark, and hopefully, I can make a decal of this version I have worked up for the Big General.I need to overcome a new editing program (Picasa) to get this cropped and resized. The starter decal pack is probably limited, so I hope I can get some usable stuff before the supply runs dry. But, This is the basis that I want to incorporate in the paint job. 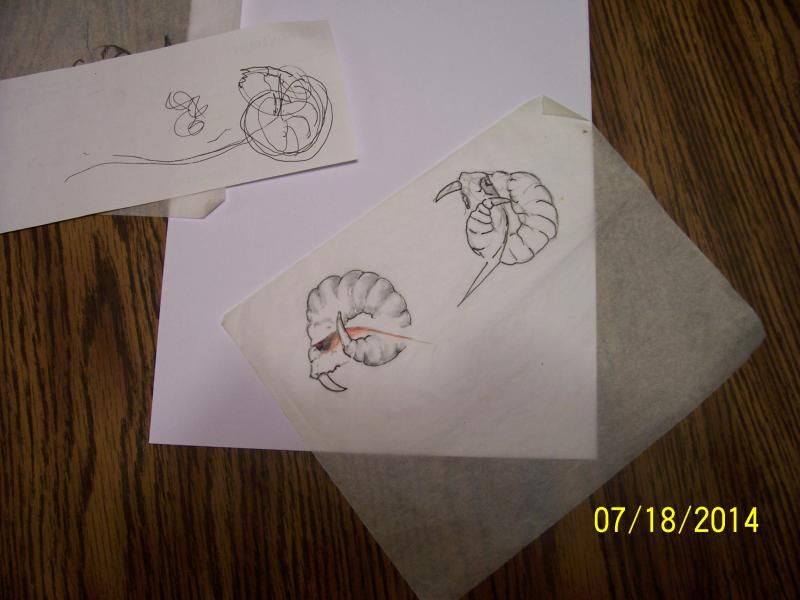 Lot of new stuff to try with out mucking it up!  |
|
|
|
Post by geezerman on Jul 19, 2014 10:47:04 GMT -6
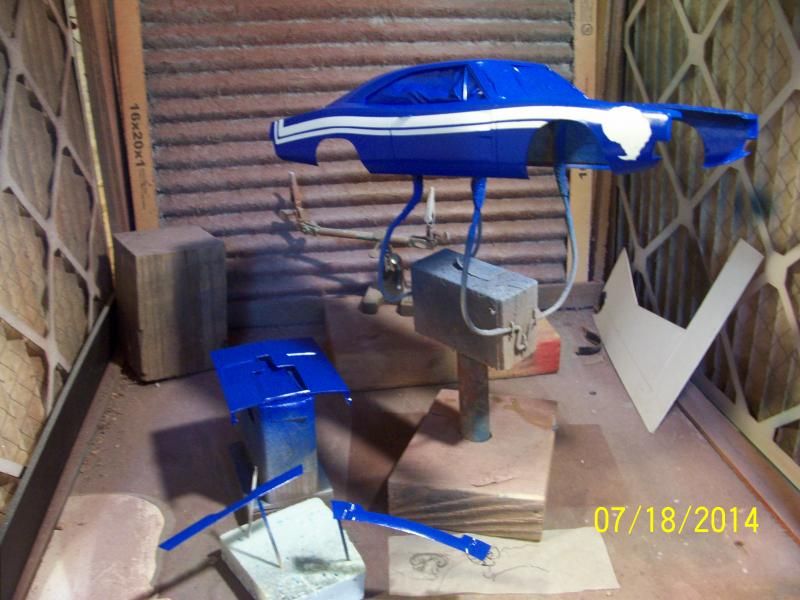
Bit the bullet this morning and laid the color. I used Krylon 'Rust Tough Enamel', so it will have to do some serious waiting time before I try to touch up the bleed throughs and remove glue residue where I masked off for the decals.
|
|
|
|
Post by geezerman on Jul 28, 2014 8:38:51 GMT -6
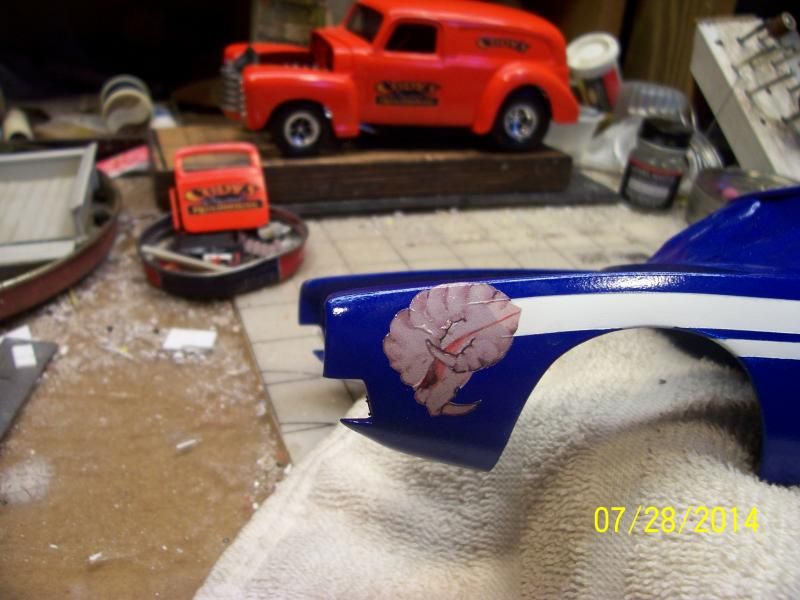
I have the decals applied. There are a few wrinkles formed as the solvent is drying. Hopefully it will be alright. If not I'll have to do some camouflaging. 
When this dries, I'll be coating it with a couple coats of clear for protection, then it's airbrush enhancement time!
|
|
|
|
Post by bob29579 on Jul 29, 2014 15:19:40 GMT -6
Hope they go away... How's the knee coming along ?
|
|
|
|
Post by geezerman on Aug 14, 2014 11:36:26 GMT -6
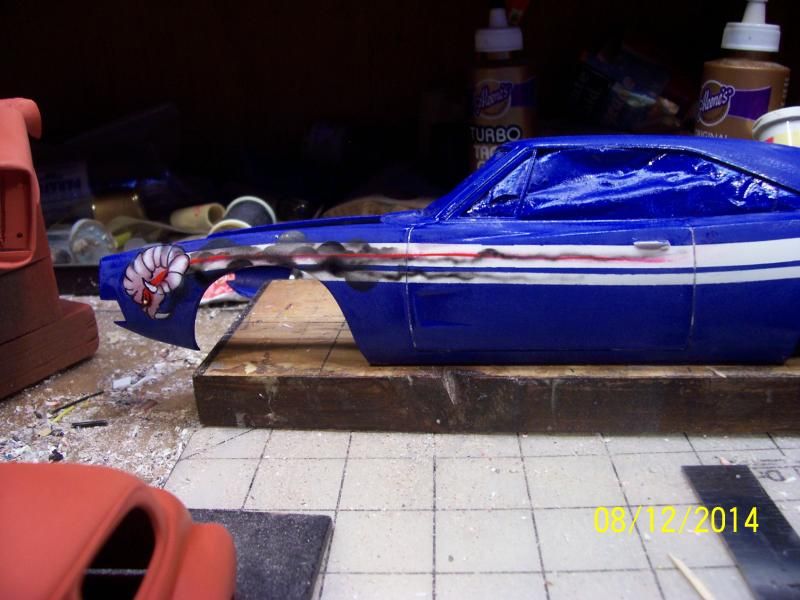
Got to the grafix yesterday. Not as neat as I would have liked. I have trouble dialing the airbrush and paint consistency to the fine degree I need. Getting old doesn't help either ! 
Let it set a while and then I'll try to build up some clear.
|
|
|
|
Post by geezerman on Aug 31, 2014 9:48:49 GMT -6
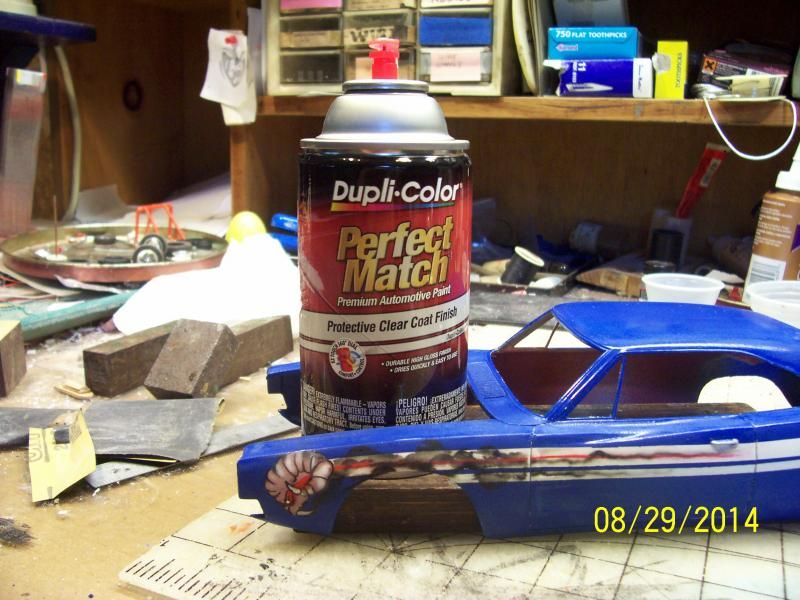
I suppose if I were a chemistry major, and had read the ingredients I may have known better, but I can say how beyond disappointed I am with this Duplicolor clear. Fully cured for a few days, it still rolled up like cheap plastic film at attempts to sand... wet or dry.
I have said before what a shallow old coot I am, so I will not be stripping this down. Re-clear and that will be it ! I ain't painting this over.

|
|
|
|
Post by bob29579 on Aug 31, 2014 14:46:32 GMT -6
I'm the same way. I don't have a purple pond but I have a lot of sanding sticks and paper.
|
|
|
|
Post by geezerman on Sept 1, 2014 4:58:22 GMT -6
I am in the last stages of assembly. Nothing new, just trying to fit the remaining kit parts. Next post will be in the finished section.
I have to add in this WIP section, that building that engine was the most enjoyable part of this whole thing for me !
Thanks to all that watched and encouraged me! 
|
|